Create skull model
Create skull model.
- Click "Ortho3D" button and wait few seconds, MRI image will display.
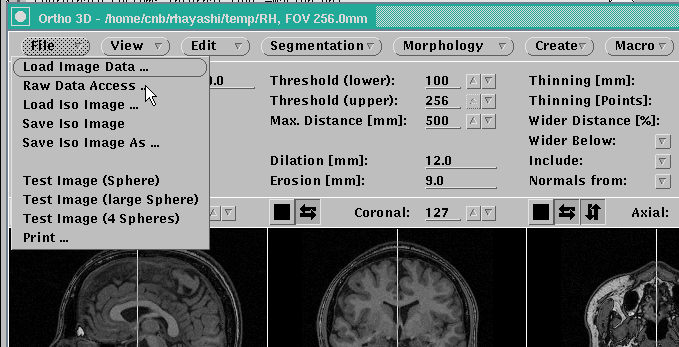
- Right Click on the "File" button, and then Choose "RawData Access".
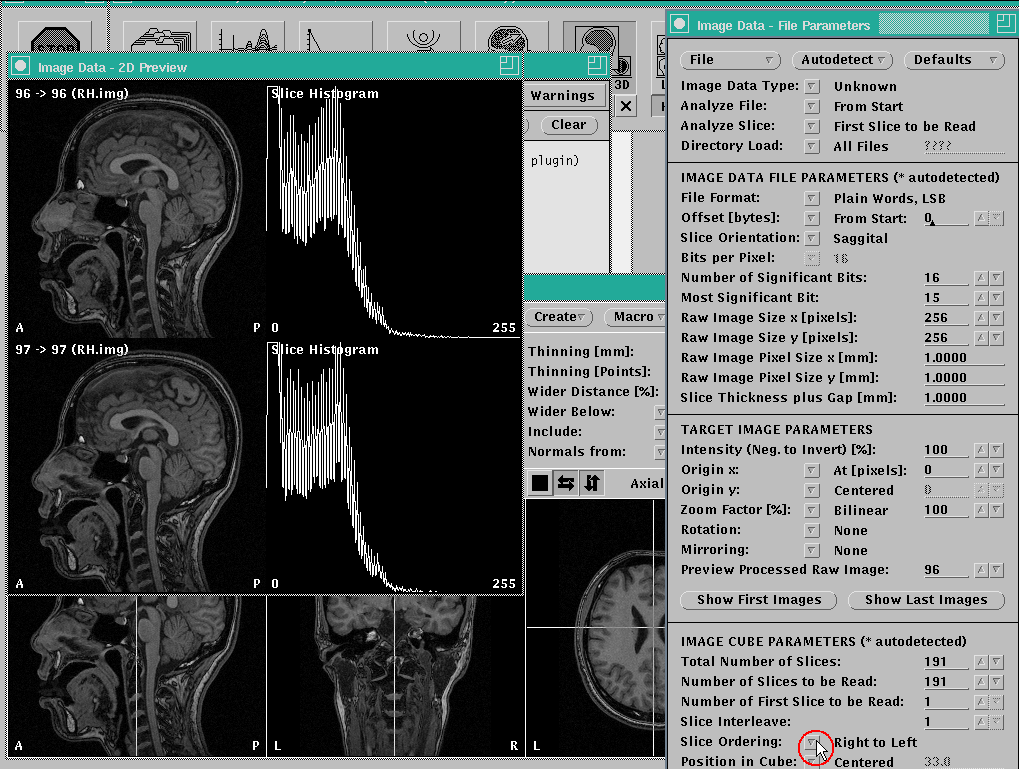
- In the Image Data dialog, right click on the "sliceOrdering" and choose "Right to Left".
- Right click on the "File" button, and choose "Save Image Parameters and Load Raw Image Data".

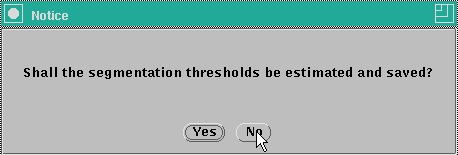
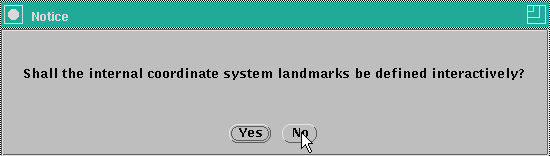
- The following dialogs are displayed. Select No.
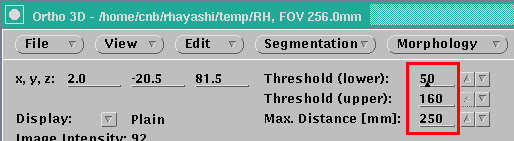
Segmentation _
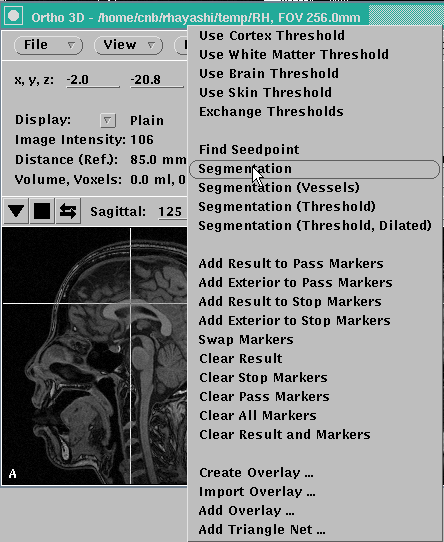
- Set Threshold and MaxDistance as follows.
- Click the vicinity of the center of the brain.
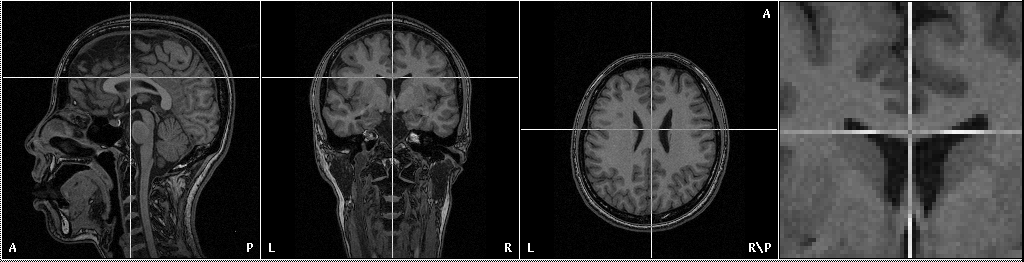
- Right click on the "Segmentation" button, and choose "Segmentation".
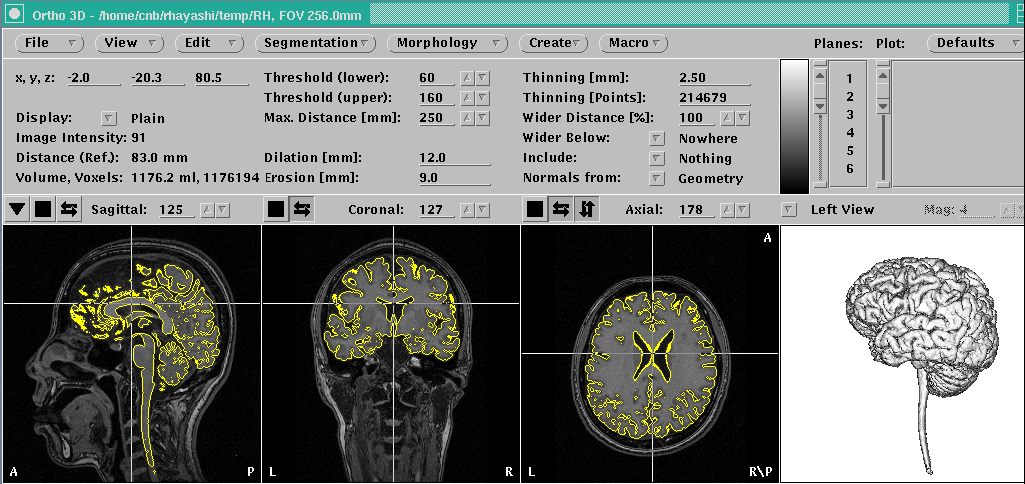
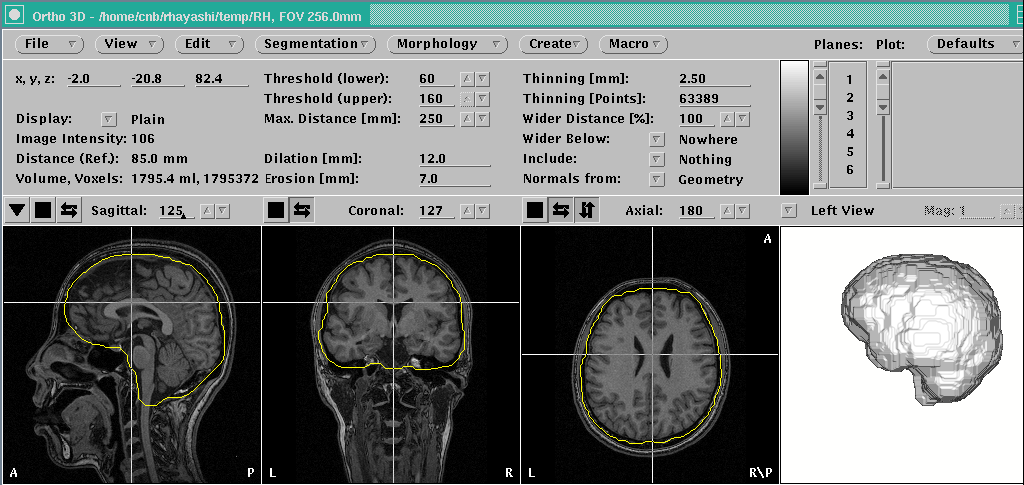
When processing is completed, it is displayed as follows.
Morphorogy _
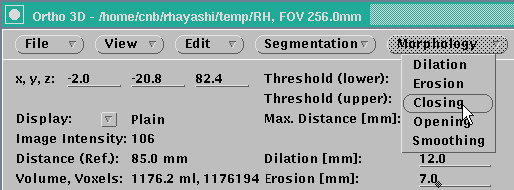
- Set Dilation and Erosion as follows.

- Right click on the "Morphorogy" button, and choose "Closing".
When processing is completed, it is displayed as follows.
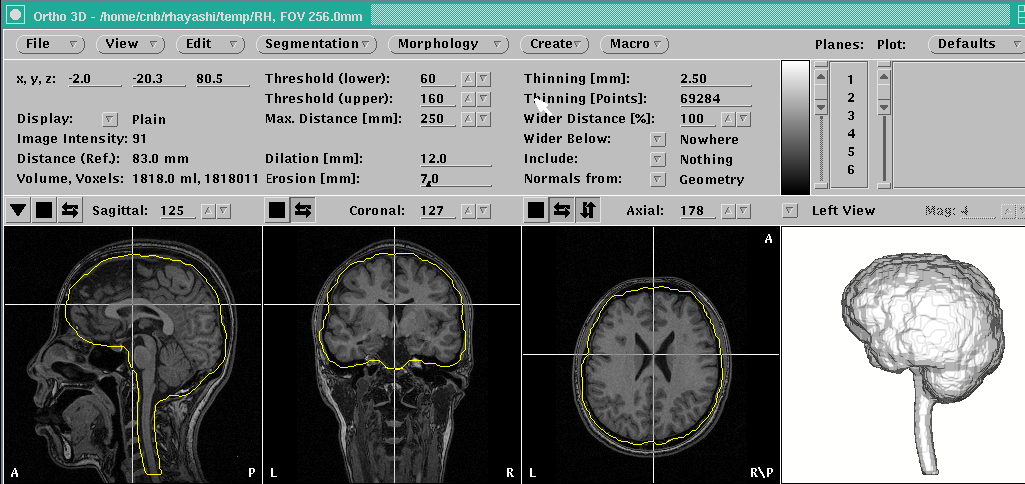
- Right click again on the "Morphorogy" button, and choose "Smoothing".

When processing is completed, it is displayed as follows.
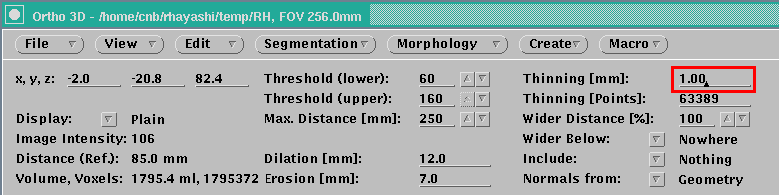
Surface file _
- Set "Thinnig[mm]:" as follows.
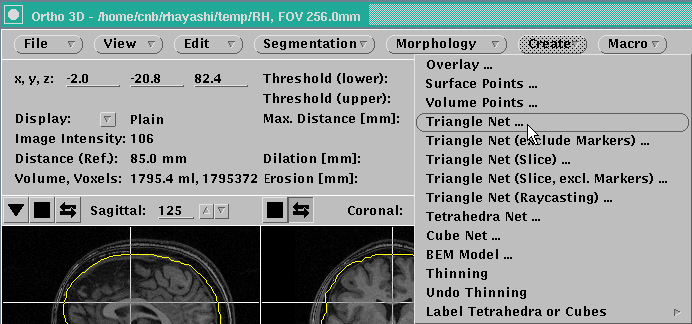
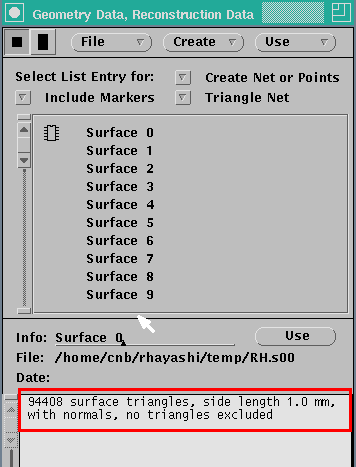
- Right click on the "Create" button, and choose "Triangle Net...".
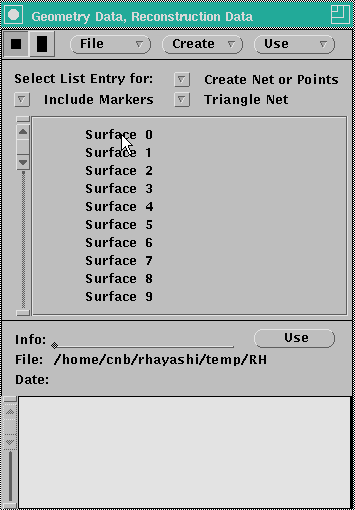
- In the appearing dialog, click "surface 0".
When processing is completed, it is displayed as follows.
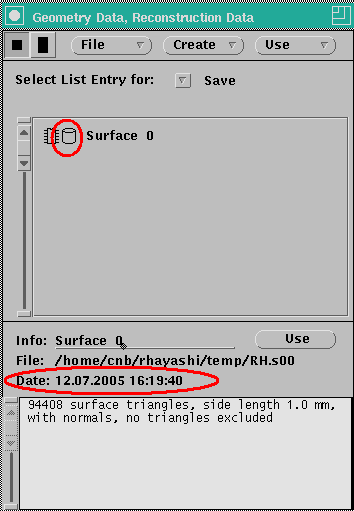
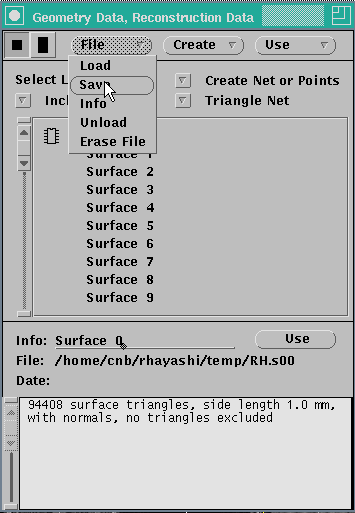
- Right click on the "File" button, and choose "Save".
- Click "surface 0".
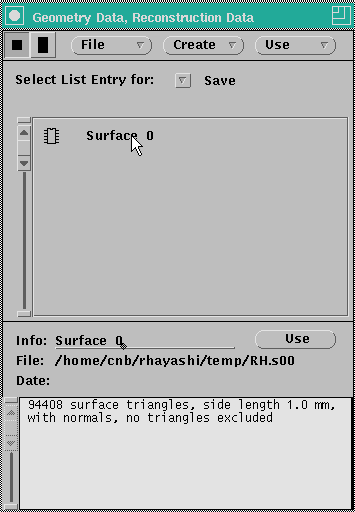
When the saving is completed, the display is updated as follows.