Talairach transform
Talairach transform
- Confirm window activation of the 3D tools(MRI_ACPC.vmr).
If it does not be activated, Click the window.

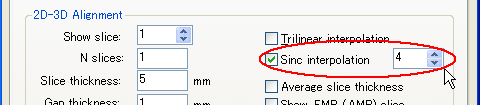
- Switch to [Reslicing]tab, and then check "Sinc interpolation" and set value to 4.
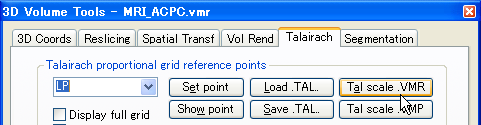
- Switch to [Talairach]tab. Click on the "Talairach reference points" drop down box.
Select the reference point and decide the point on MRI image by clicking or using cursor keys.
At the end, click the "SetPoint".
Set all the following points.
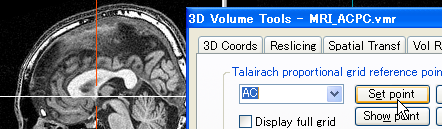
AC…Anterior Commissure. The cursor is at the position of AC if it is after AC-PC transform.
PC…Posterior Commisure. Press repeatedly [Shift] + (up or down) to move the red cross AC point to the PC point.
AP…the most anterior point
PP…the most posterior point
SP…the superior point
IP…the inferior point
RP…the most right point
LP…the most left point
- Click "Save. TAL" button to save tarairach parameters.
In the appearing "Save As" dialog, enter filename and click "Save". FILENAME:MRI_TAL.tal
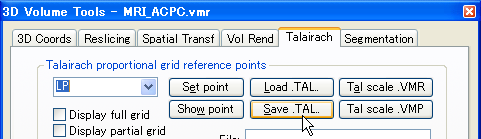
- To warp the cerebrum space in AC-PC into Tarairach space, click the "TalScale.VMR" button.
In the appearing "Save As"dialog, enter filename and click "Save". FILENAME:MRI_TAL.vmr
It takes five or six minitues.